Table of Content
If you look at the tools within your set, you’ll notice that some of them are different shapes. Hold them up with the tips pointing towards you and you’ll notice that some of them have U-shaped tips, while others are V-shaped. There are lots of different kinds of paper you can use for printing. You can use mixed media paper when you’re learning to print and experiment with other types of paper once you’ve built up your confidence. A lot of block print artists like to use Japanese papers such as hosho or masa paper. I also like khadi paper, which ideal for textured, rustic prints.

Place two sheets of felt into a shallow dish with sides and cover the surface evenly with a thin layer of ink. Press the carved block onto the ink-soaked felt – similar to pressing a stamp onto an ink pad. Ensure that the entire design is covered with ink but without excess in the empty spaces of the design.
Block Printing With Sponges or Foam
One you’ve got the basic repeating pattern down, you can play with borders or more squares, using different corners as pivot points. Make sure lines and shapes go of the sides of the square—if you keep them contained in the box, they won’t join to make new shapes. Go over the lines in your design with a Sharpie so that you can clearly see everything.

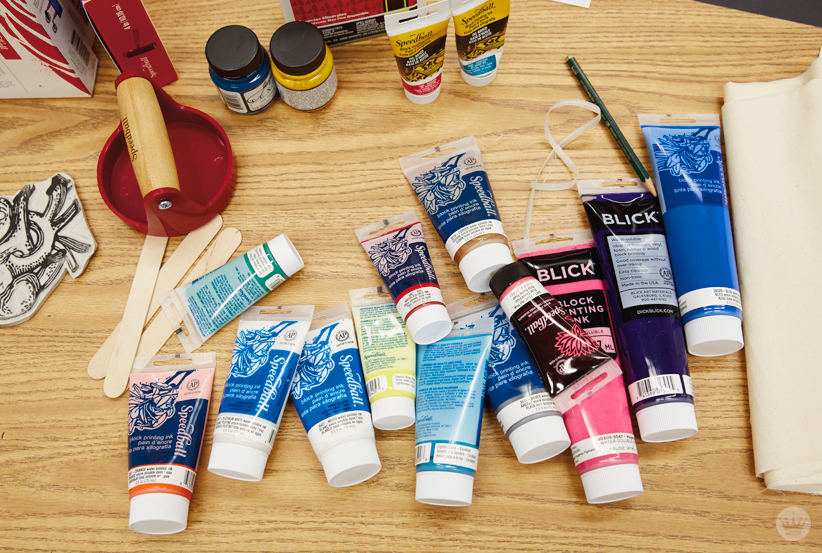
One of the advantages of block printing is that it can be done on a surface of almost any size and texture. Block printing is also one of the easiest printing methods. The materials needed are relatively inexpensive, and you don’t need a lot of equipment for printing.
Block printing on fabric – a simple step by step guide
Using the brayer, roll out the ink so there are no blobs or bubbles. Then get a thin, smooth layer of ink on the brayer, and roll it across the cut side of your printing block. Oil-based ink has a thicker consistency and is more difficult to work with. It comes in many different colors and can create beautiful textural prints – but it also takes more ink and much longer to dry fully.
It’s a time-consuming process, but one that produces incredible results. Block printing is an ancient form of printmaking which has been used for over two thousand years. It has its roots in East Asia and evidence has been found of block printing in China dating back to the 2nd century BC! While block printing has a long and varied history, it’s still popular with contemporary artists who use it to create beautiful printed textiles. Clean your print block and tools thoroughly when you’re done.
Precut Patterns
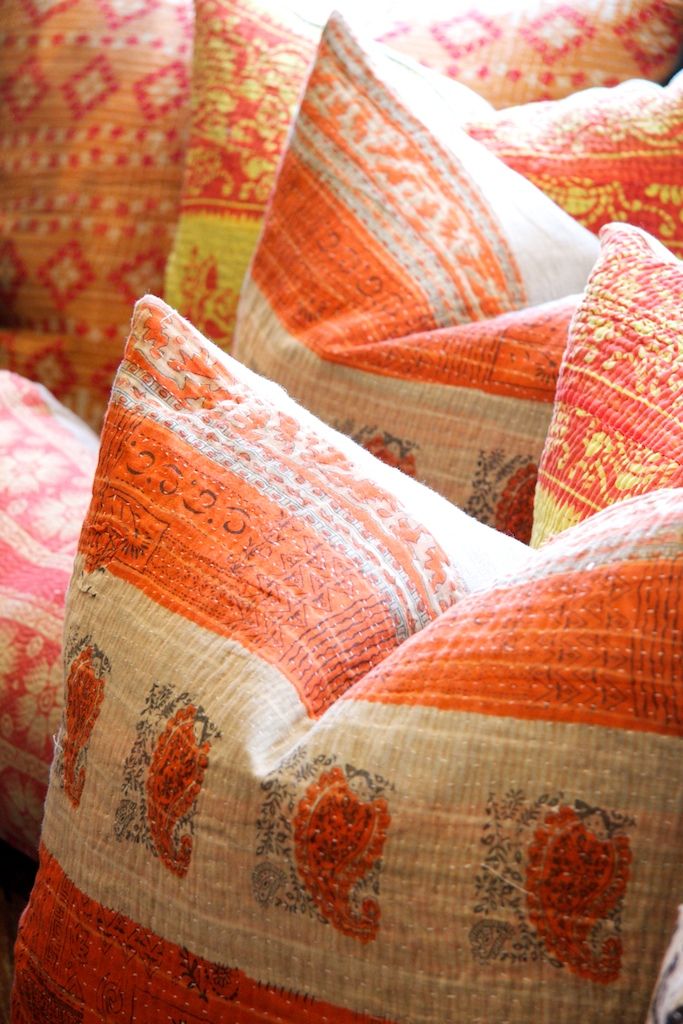
Natural fibers are always best to use for block printing. Cotton, linen, hemp, and silk all take well to being dyed and can provide various products and outcomes for your printing projects. Polyester can be used as well – the best case is when it is blended with another natural fiber. There is also always the option of purchasing pre-cut stamps or blocks if carving doesn’t sound enjoyable, but you still want to try hand printing.
Peel away the lino block to reveal your first print. As an added bonus, you can pick an ink colour selection that you like and upgrade for extra materials. First grab your tracing paper and put it dark side down on top of your block. Layer the design on top of the tracing paper. Start sketching with a pencil or with watercolors. Sketch your design to scale to make sure it fits inside the dimensions of your piece of fabric.
Once the lino is covered you are ready to print. Cover your table with padding and an old sheet to create a soft surface to print on. No searching for supplies, I give you a full list of the few important tools you’ll need. In any case, just wait until your inks are dry and not tacky to the touch before you set them. You can read about this in much more detail in my most popular blog post right here which is all about blocks and inks.

If you used water-soluble ink, wash your materials with soap and water. If you used oil-based ink, use mineral spirits to wash your lino block and tools. Follow the directions on your textile medium to heat set the paint. I believe the general idea is to use as hot an iron as your particular fabric will take and press your prints for a minute or so until the paint changes slightly in tone.
If you block printed on fabric, your projects will take a little longer to dry before you’ll be able to set them. I like to set up a little mini clothesline inside and clothespin the very edges of my fabric to the string. There’s screenprinting ink and block printing ink.
Remember to keep the tool at a low angle so that you don’t carve too deeply into the lino. Rub the surface of the lino with some coloured acrylic paint before you start carving so that you can see your marks clearly. It can also help if you go over the pencil lines with a Sharpie or fineliner so that they stand out.
There are little mistakes, and you learn to embrace the happy accidents. Print the block on a test surface before printing it onto the final product. To get a rough idea of the outcome, you can test the block on paper. To get a more accurate idea of how the print will turn out, the test should be done on a scrap of the same material as your finished piece. Make sure to hold the block in a manner that will produce a print in which the design is facing the correct direction. Next – take the block and dab it on the sponge using gentle pressure – as if pressing a stamp into an ink pad.
You won’t have to worry about lining up specific designs or having colors run together undesirably. If you’re looking for something permanent – which is generally the case when printing onto fabric – you should look for inks specifically labeled. If the label doesn’t state “for fabric,” or “heat set” chances are they won’t be permanent when washed and are probably intended for use on paper.


No comments:
Post a Comment